Showing posts with label Craft. Show all posts

July 12, 2017


Deco Foil DIY

Let's Play with Deco Foil 


**Therm-O-Web sent me product to play with, woo hoo!!! **

While attending the SNAP conference I poked my head into the Therm-O-Web booth to see what crafting goodies they had.  My eye went straight to the shiny fun of Deco Foil.  As soon as I played with it I was envisioning all the fun party items I could create with it.  Like these wedding signs here.

So lets dive in and see how easy it is to use Deco Foil.  You'll need some Deco Foil transfer sheets, I chose the Amethyst Watercolor and you'll also need the Deco Foil Liquid Adhesive.   And something you want to put the Deco Foil on.  A card, a sign, an arrow like I'm using in this tutorial.  By the way, I'll be totally honest here, I kinda suck at tutorials and I'm trying to get better. I usually don't take enough pictures but I think I took enough this time.  Ok, let's continue.
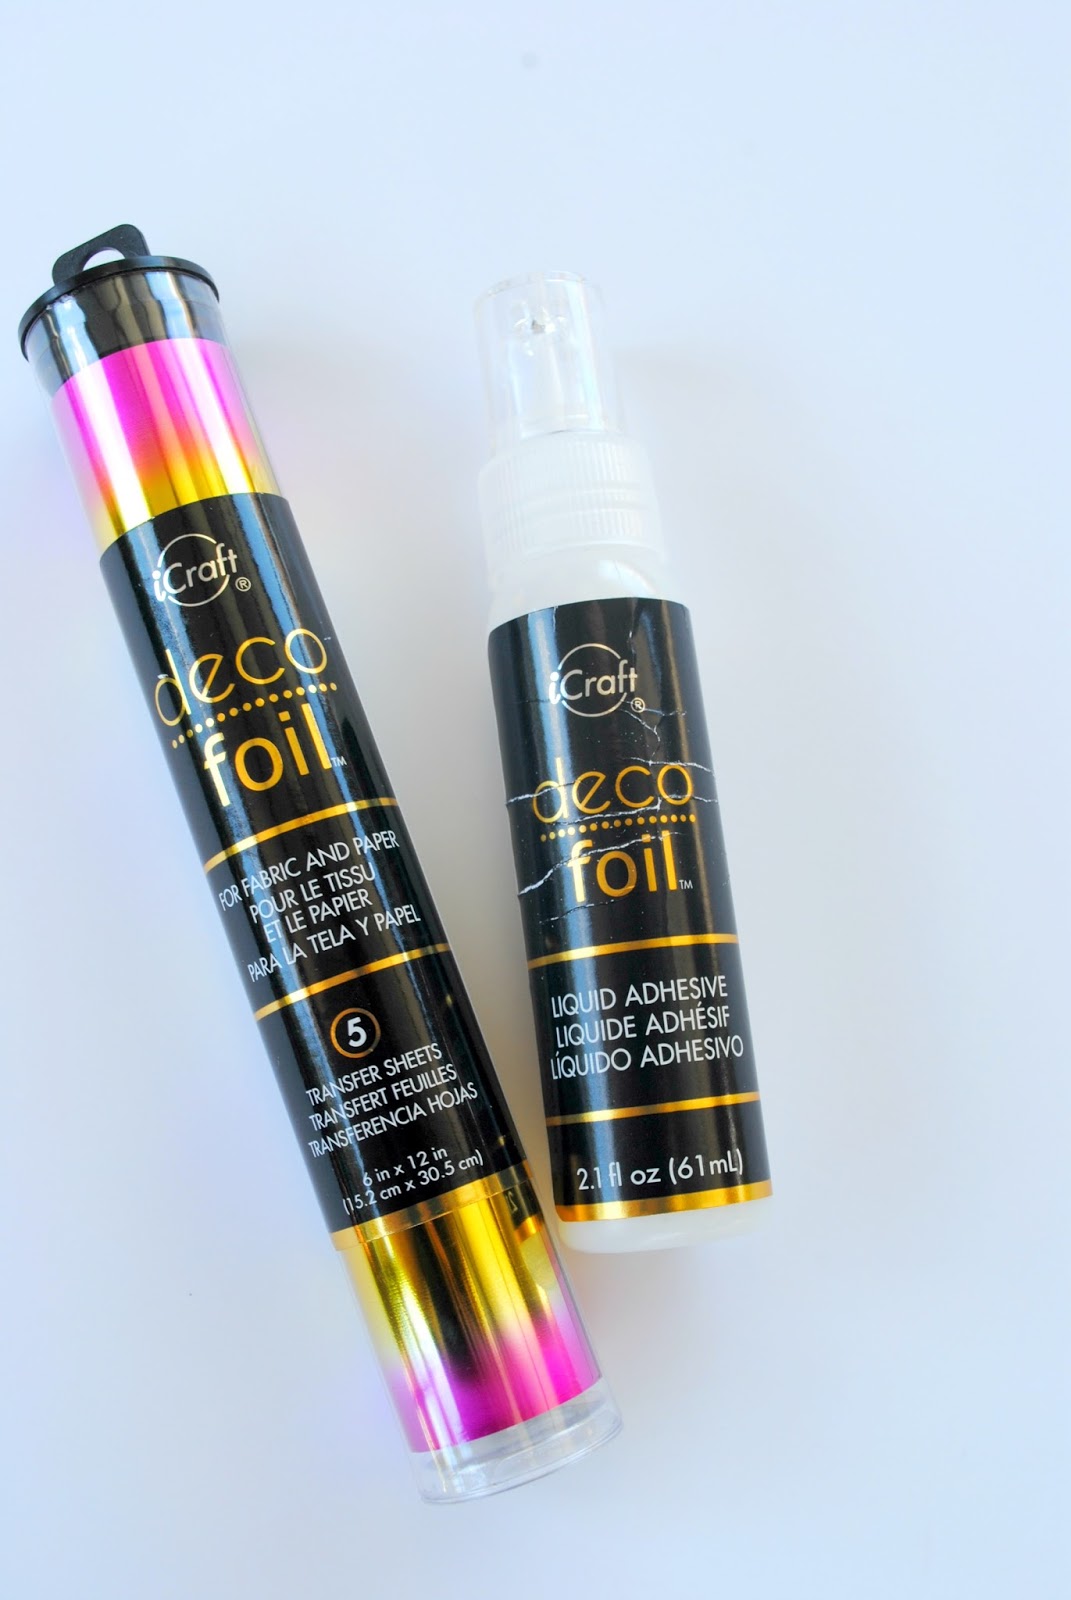
Deco Foil products used in DIY tutorial on fizzyparty.com

How pretty is this Deco Foil.  See why it caught my eye...

How to use Deco Foil. A diy on fizzyparty.com

First thing you do is take the cap off the liquid adhesive and start writing or drawing on your medium.   I chose arrow signs from Oriental Trading.  Thank you Oriental Trading for sending them to me to play with.  The adhesive is so easy to apply.  It's just like writing with a pen.  As you can see I fudged a little on the upper line there.  But it's still really easy to use.

Deco Foil diy- Step one on fizzyparty.com

I got a little too much adhesive on the bottom of the F there but I was trying to take a photo and write at the same time. I probably shouldn't do that. You can see how smooth the adhesive flows.

Deco Foil diy step-by-step on Fizzyparty.com

I got a little carried away with the Fizzy and almost didn't leave enough room for the Party.  I suggest practicing on scrap paper if you want to make sure the finished words or pictures are perfect. After you've written or drawn what you want you let it sit for 1 to 2 hours.

Deco Foil adhesive, step one of the process. See all the steps on Fizzyparty.com

After the 1 to 2 hours has passed, I usually wait 2 hours just to make sure the adhesive is nice and dry, you grab your foil sheet and place it over the adhesive letters or picture.  Than you just rub with your finger or nail.

Deco Foil diy. Apply Deco Foil. See all steps on fizzyparty.com

Look how easy that is.  You can see how the foil just transfers right onto the adhesive and not onto the paper anywhere else.  I'm not careful when I rub either, I don't make sure I'm just rubbing the foil onto the adhesive only.  If you happen to rub the foil where there's no adhesive it's no biggie because it only transfers where there is adhesive.


Deco Foil diy, how to apply it. See the whole tutorial on fizzyparty.com


I applied the Deco Foil over all the words and rubbed and than peeled it off.  The other great thing is, if you happen to miss a spot or the colour didn't transfer as well as you'd like, just lay the foil on top of the spot, rub and remove the foil. The spot missing colour will now have colour.

Deco Foil diy on the blog, fizzyparty.com

Ta-Da! The finished product. As you can see there are a few spots that I probably should have gone back over with the foil.
Deco Foil finished product. See the tutorial on fizzyparty.com

Deco Foil works great on wood too.  See how I used it on wood here

Who's wants to play with Deco Foil now?
If you have a project in mind leave me a comment and let me know. I'd love to see what other creative ideas people have.

Shop this craft:
Therm-O-Web
Oriental Trading

Did you know I'm on Instagram?  You can find me here.

Related:  Fun with Deco Foil 

July 11, 2016


Trinket Dish Craft Night

#FizzyPartyTropFest

Have you heard of Fizzy Party Trop Fest?  It's a fun craft night, networking and so much more event taking place in Portland, Oregon on July 27, 2016 at Opal 28  Limited tickets available so be sure to get yours before they're all sold out!! I'd LOVE to have you come craft with me. And be sure to tell your friends! We'll be painting fun trinket dishes.  I'll have pineapple shaped ones and circular ones ready to paint. 


I've been busy making pineapple shaped trinket dishes for the event.  Plain and ready for your colourful creations. 
#FizzyPartyTropFest naked trinket dish

I have to have a sample one for the attendees so I got out the paints and glitter which I'll be bringing to the event, of course! Glitter is a must for my crafting.  My inspiration was this adorable pillow I created at Shutterfly with a graphic created for me by Small Moments.
Trinket dish painting supplies

I started out painting it with a base colour of pineapple yellow then added the smiley face and red hearts eyes which look so much better with glitter don't you think.
Pineapple trinket dish painting, face

Freckles added!
Pineapple trinket dish painting

Time to add the festive pineapple top.  Multiple colours of green give it depth and...GLITTER!!!
Pineapple trinket dish with glitter

Ta-Da!  My finished little trinket dish.  Isn't he cute :D  Come out and paint one with me and enjoy a huge dessert bar, so many photo ops you'll blow up your Instagram and some serious swag!!
Pineapple trinket dish for Fizzy Party Trop Fes

Come out for an evening of FUN!!!! Tickets available HERE   The first 10 people to come get a super special swag bag, woo hoo!!!!

August 6, 2011


Crafting

Big Crafty shopping day today. I have mmm, 6 parties in the process of planning. I know, I'm nuts :) hee hee   So it's off to hit the craft stores for ideas, paper, glitter, stickers, ribbon and anything else that catches my eye.  I tell ya, these other party blogs I follow don't help my addiction ;)  www.frostmeblog.blogspot.com , www.thepurplepug.com, and www.coffeecraftsandcupcakes.blogspot.com just to name a few.

I better get off this blog and out to the stores if I ever want to get crafting. Craft on my friends!