March 31, 2014


Dessert Review


The Dessert Tray Review

While out shopping for supplies for my upcoming birthday party I decided to stop for a treat.  I've driven by The Dessert Tray numerous times but have never stopped. Too busy on the way to somewhere.  Today I took the time to stop. When I walked in I was greeted with a smile and told of the specials.  That days special was cookies, buy one get one.  A good deal but I was there for the cupcakes. 


There were a lot of cakes to choose from and some you could buy by the slice.  The only cupcakes available were red velvet.  Which was fine with me because I enjoy a good red velvet.   I also picked up a slice of Lemon-Raspberry Poppy seed cake.


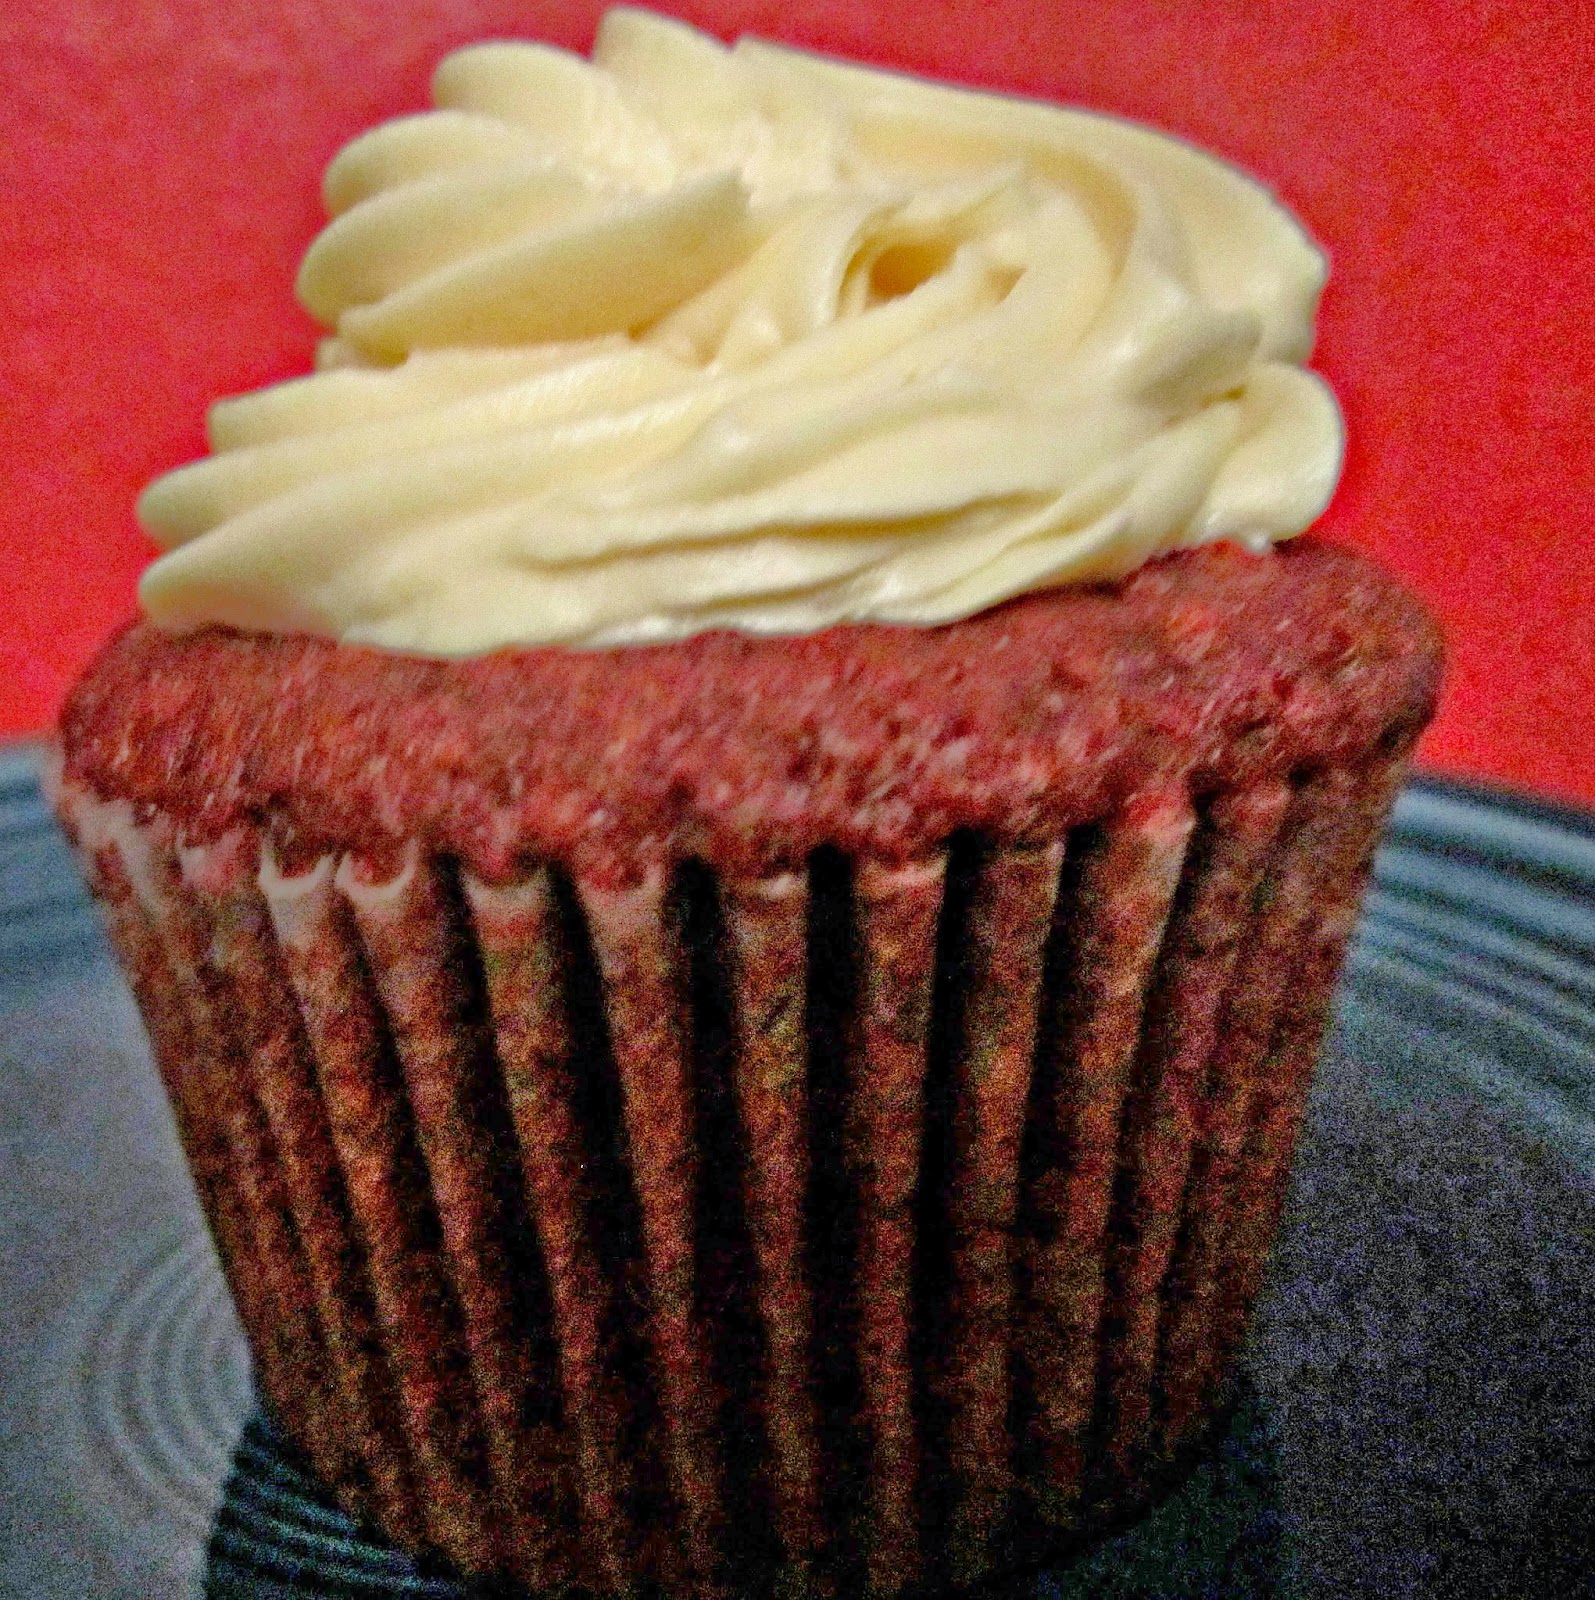
I took a small taste of the red velvet cupcake before letting my husband have it. I had the slice of cake.  I found the cake to be dry and an odd taste. Not a bad taste. Just not a red velvet taste.  The frosting was not what I was expecting either. It tasted a bit like brown sugar. Not the smooth cream cheese taste I'm use to with red velvet.  My husband's first question was "is the frosting bad? it looks brownish".  When he bit into the cupcake the frosting fell right off onto the floor. He ate the cake but said it wasn't good at all.  
 **
Update: The Dessert Tray tells me the frosting was salted buttercream. Which explains the brownish look and odd flavor. I was expecting cream cheese. Not being a fan of salt, that also explains why I didn't care for the frosting. 
The Dessert Tray review, Red Velvet Cupcake and Poppyseed Cake
The slice of Lemon-Raspberry Poppy seed cake I had was good. The Dessert Tray's website says "The cake has been brushed with lemon simple syrup and filled with lemon and raspberry cream cheese.  The icing is a raspberry poppy seed butter cream".   I'm not a fan of poppy seed or lemon but this cake was good.  The cake was tender, the fillings had light hints of lemon and raspberry and the icing had a buttery melt in your mouth texture.
The Dessert Tray, Red Velvet Cupcake, Poppyseed Cake Review

The Dessert Tray, Red Velvet Cupcake, Poppyseed Cake Review
Although the cupcake was disappointing, the cake was good. I wouldn't order a red velvet cake from them but I would consider ordering the Lemon-Raspberry Poppy seed.

March 24, 2014


Gum Paste 101

This last weekend my friend and I took a Basic Gum Paste class at Blake's Decorette ShopThe class is taught by Mary and she did a great job of instructing us.  Our class was filled with everyone making cakes for upcoming birthdays or weddings.  Except Debbie and I, we were there just to learn a new skill.  The class is 4 hours and you learn to make small flowers, a Stephanotis, a leaf and a rose. Mary packs a lot into the class without it feeling over whelming.


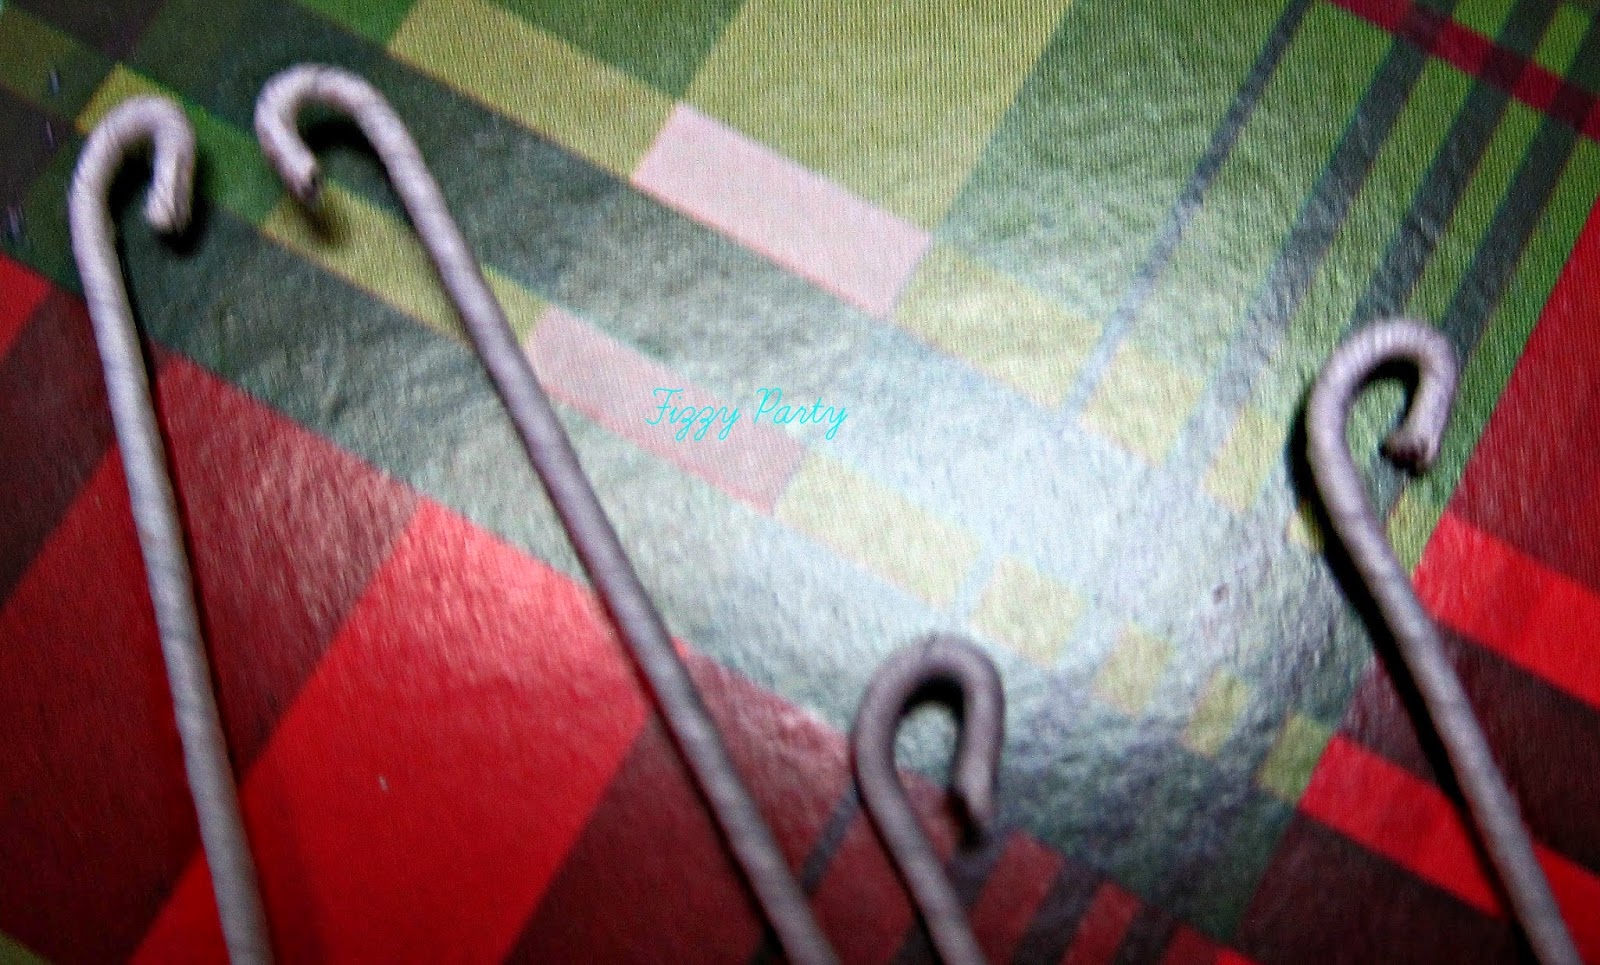
We were all given a blob of gum paste and told to knead it until it became soft and pliable.  Next, we took our wires and made little hooks. The hooks would keep the gum paste on the wire more securely
Gum Paste Class, Fizzy Party
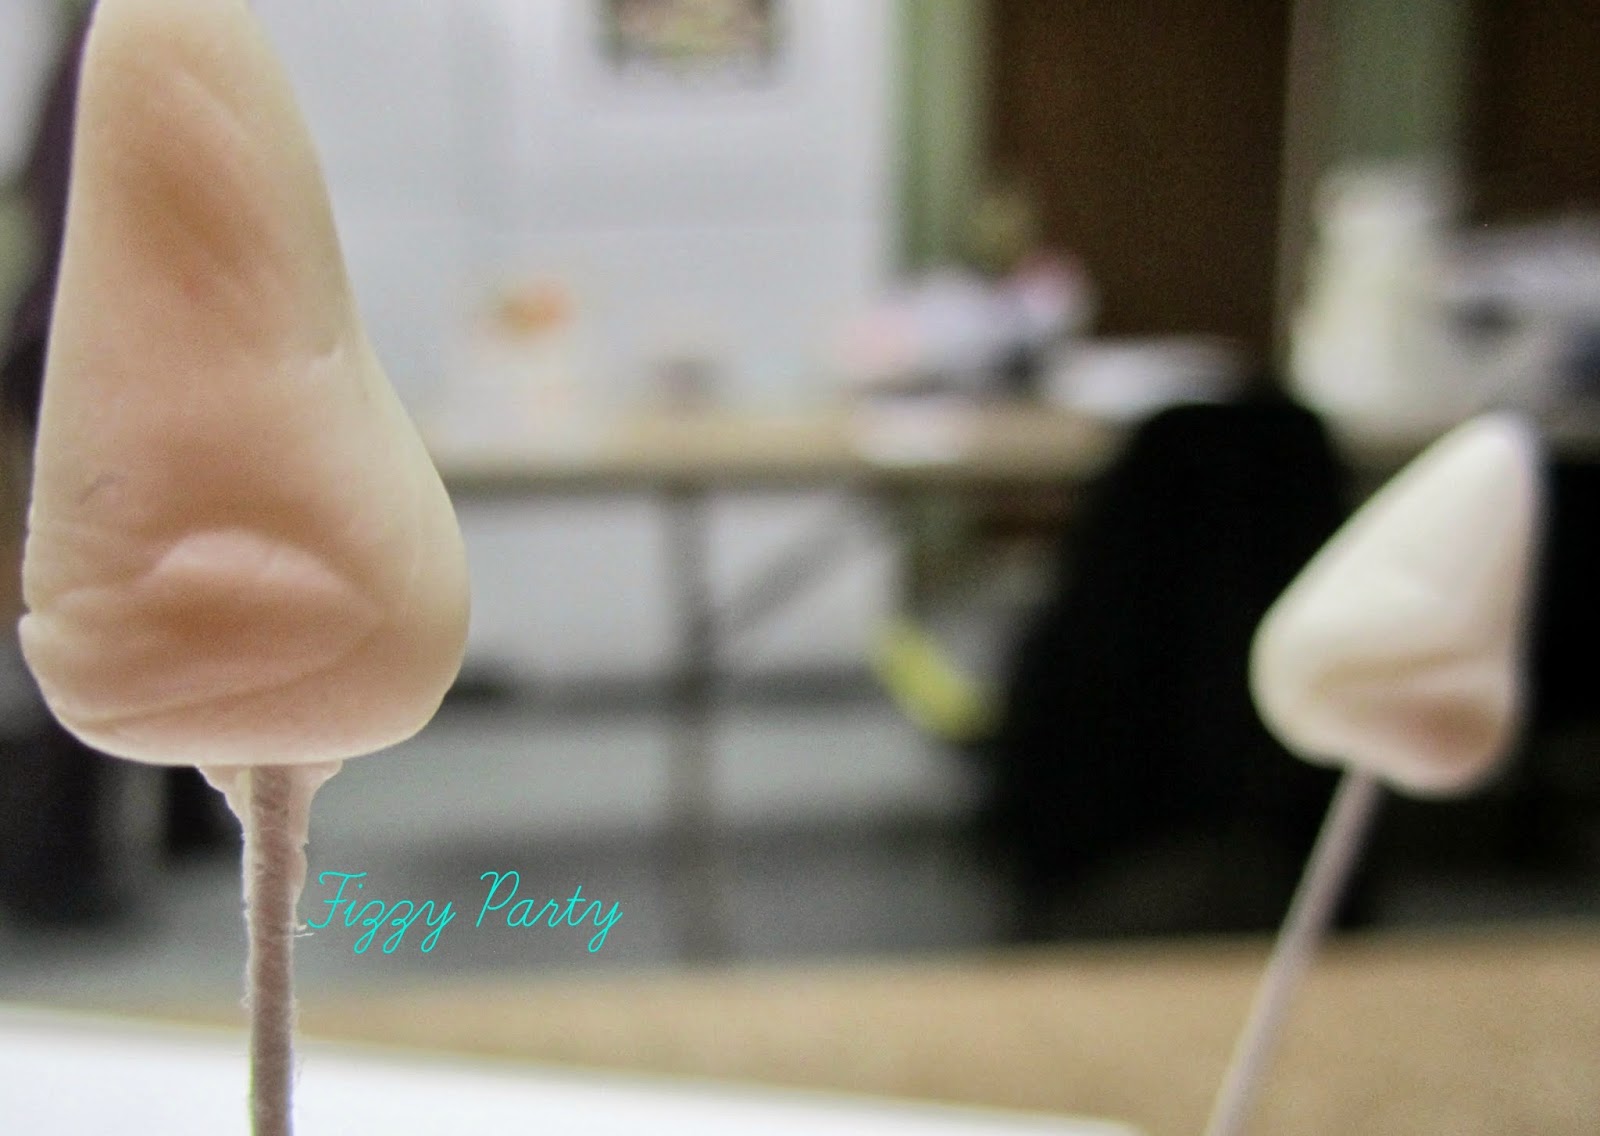
With our gum paste we made candy corn  looking shapes and pushed them onto the wire.  This would be the rose bud.  
Gum Paste Class, Fizzy Party
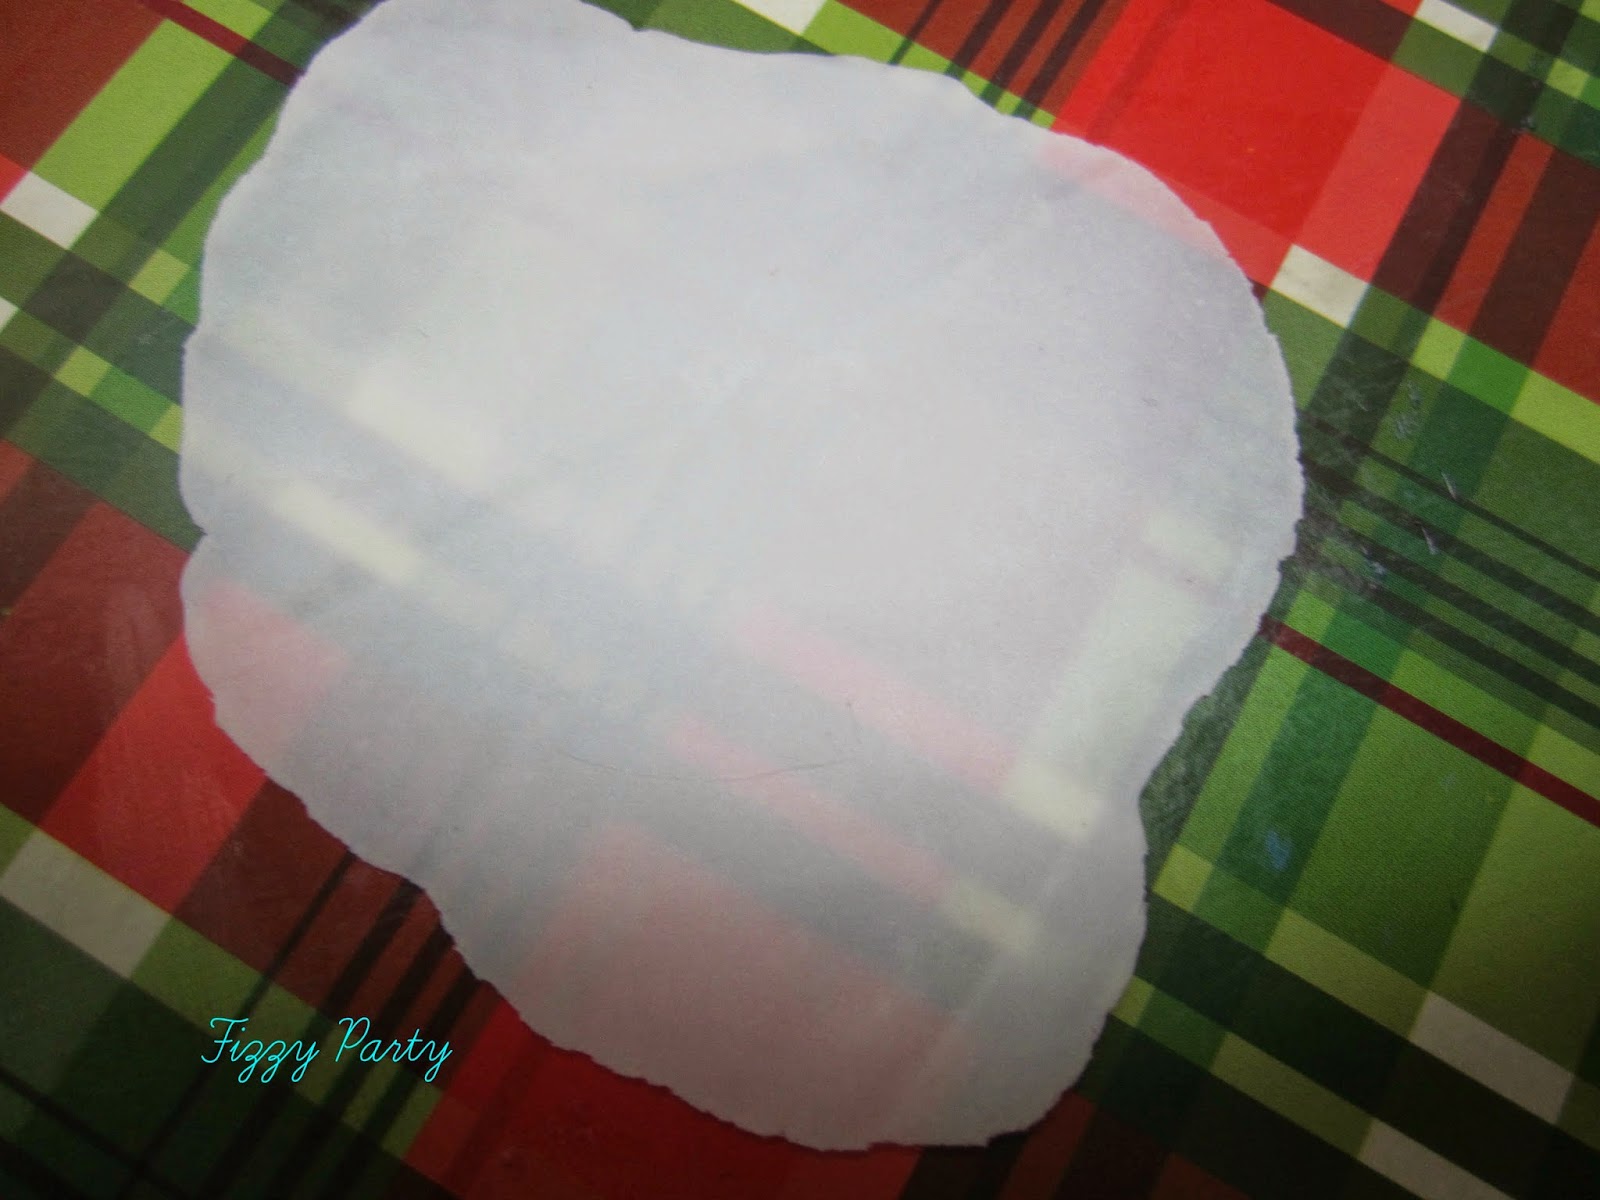
To make flowers we took a small amount of gum paste, it's amazing how little you actually need, and rolled it really thin. You want to be able to see your board underneath.  Thank goodness Debbie brought some Christmas box lids because I forgot my Silpat at home. The Christmas box lids worked but we had to use shortening  on the box lid in order for the gum paste not to stick to it.
Gum Paste Class, Fizzy Party
Just like making cookies, you roll out the gum paste and cut.  Some people in the class had trouble rolling out the gum paste. I thought this step was easy because it was just like rolling pie dough out for a crust.
Gum Paste Class, Fizzy Party
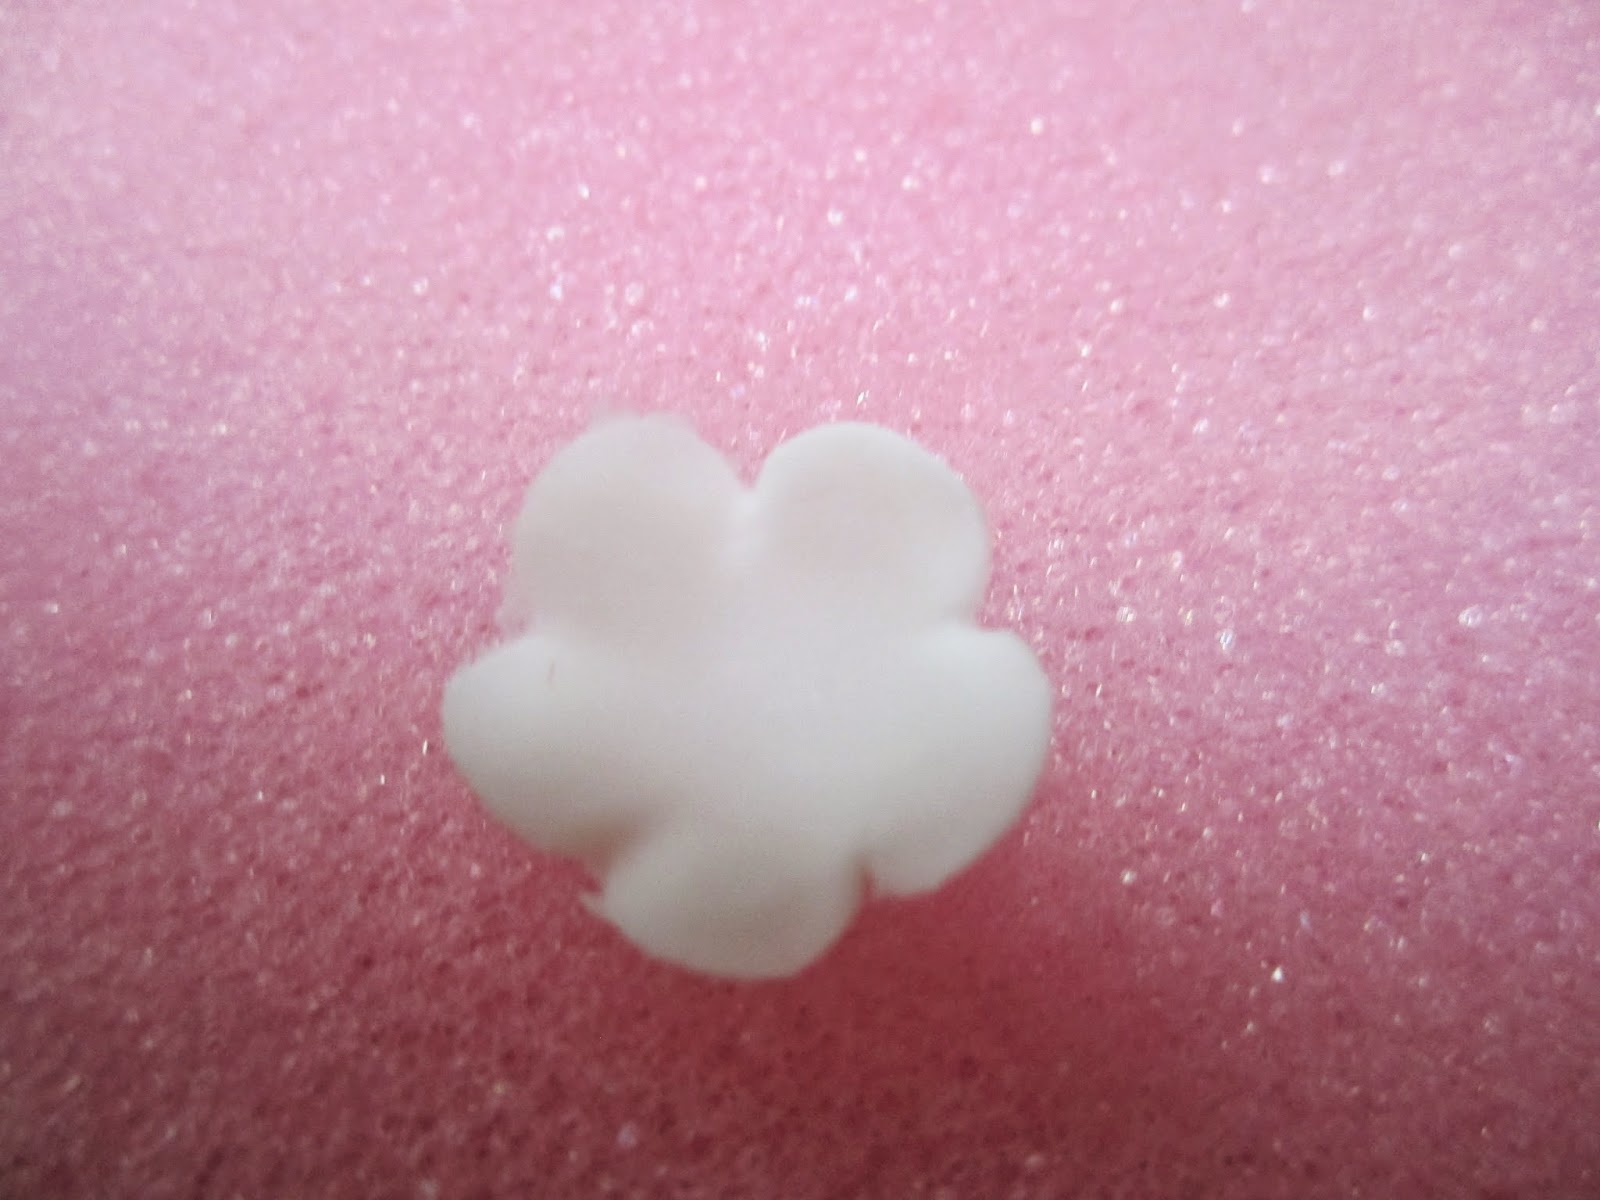
Once the flowers are cut out, we pulled away the gum paste and added it back to our original piece.  Just like making cookies.  We covered the flowers we weren't working with because gum paste dries out.  Using the ball tool we thinned out the edges and then curled up the petals.
Gum Paste Class, Fizzy Party
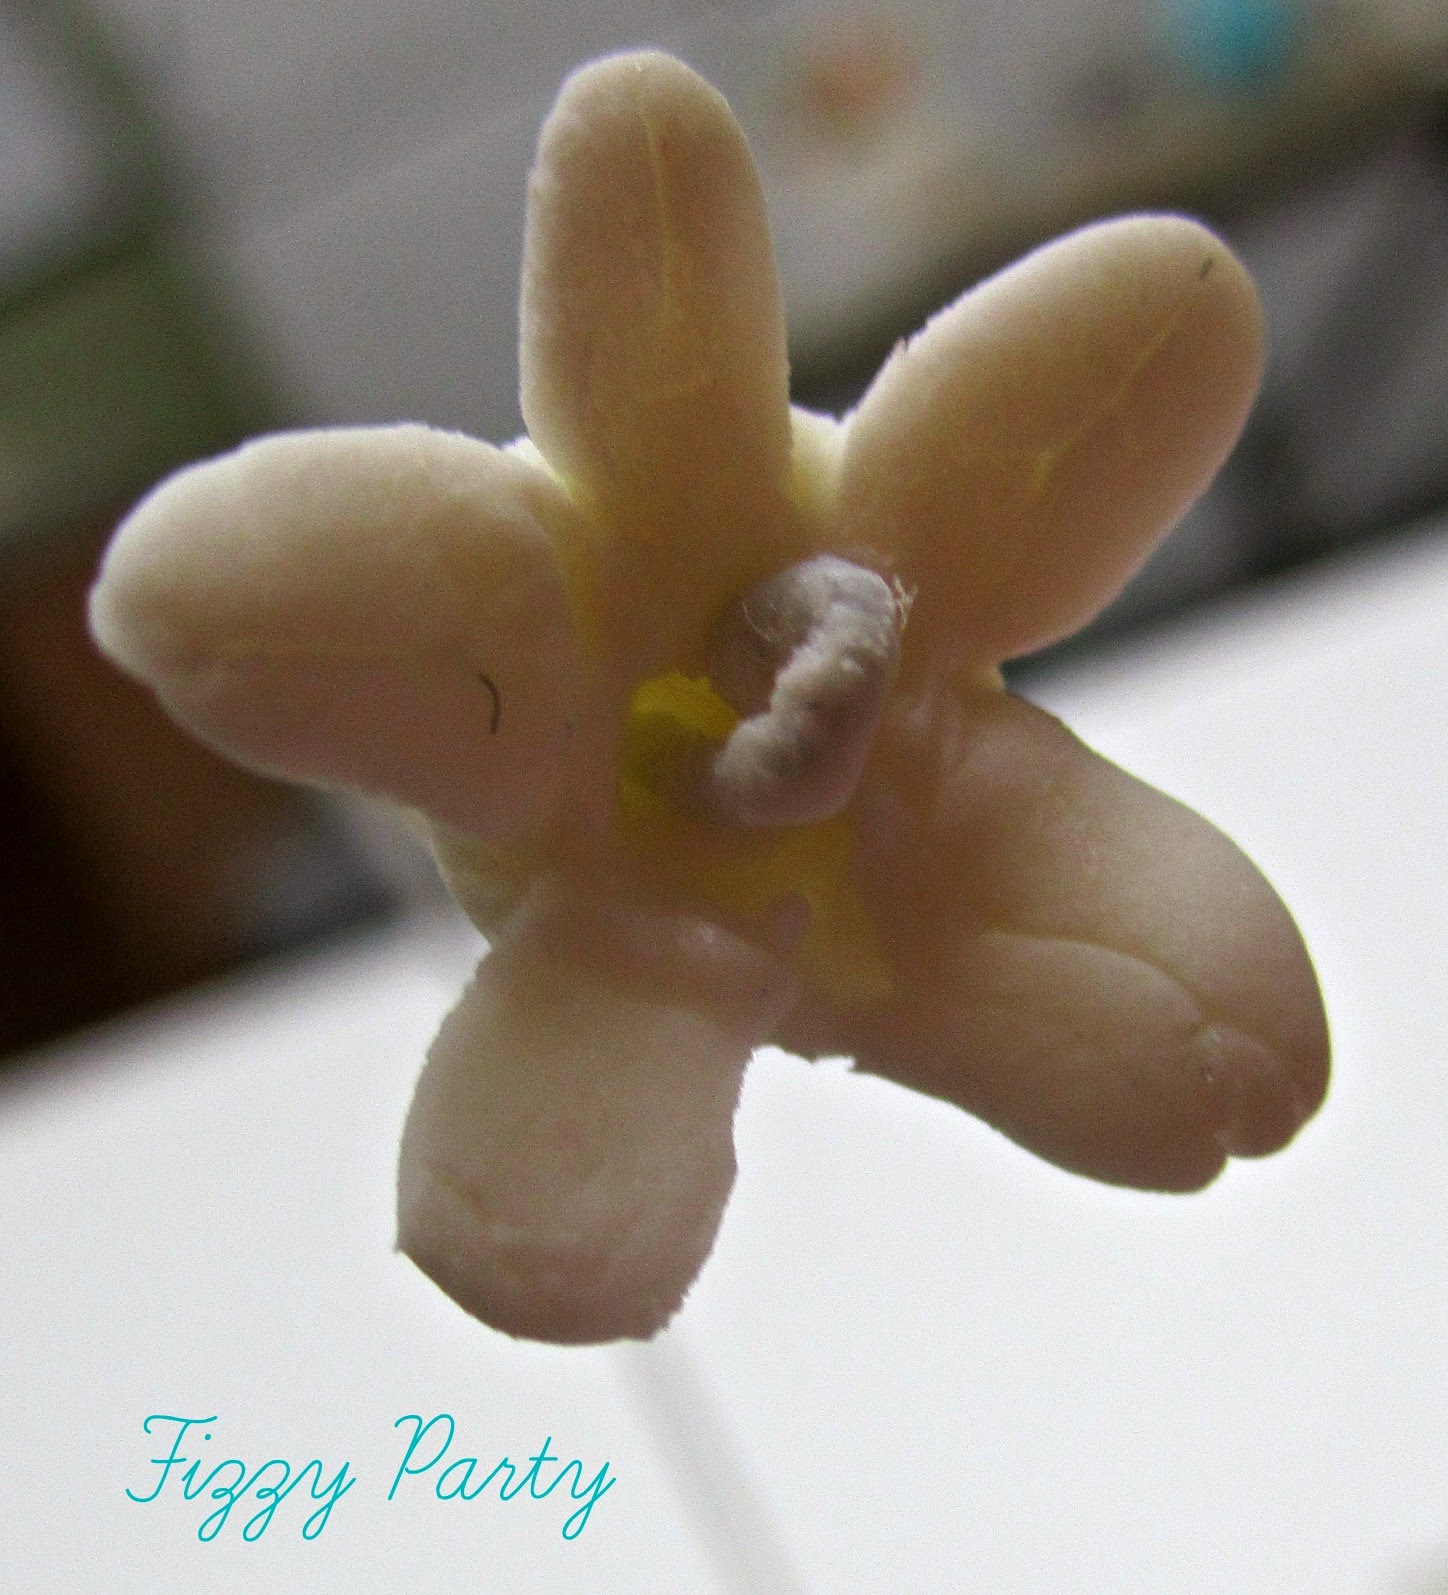
My first gum paste flower!  I did it!!
Gum Paste Class, Fizzy Party
Poke a little hole in the middle, add a stamen and you have a flower ready to add to a cake or cupcake.  We didn't colour the gum paste because this was an introductory class. 
Gum Paste Class, Fizzy Party
The beginnings of a rose. We cut a few petals and added them to our rose bud. I didn't think mine was looking very good but my class mates said it looked really good :) Not bad for a first attempt.
Gum Paste Class, Fizzy Party
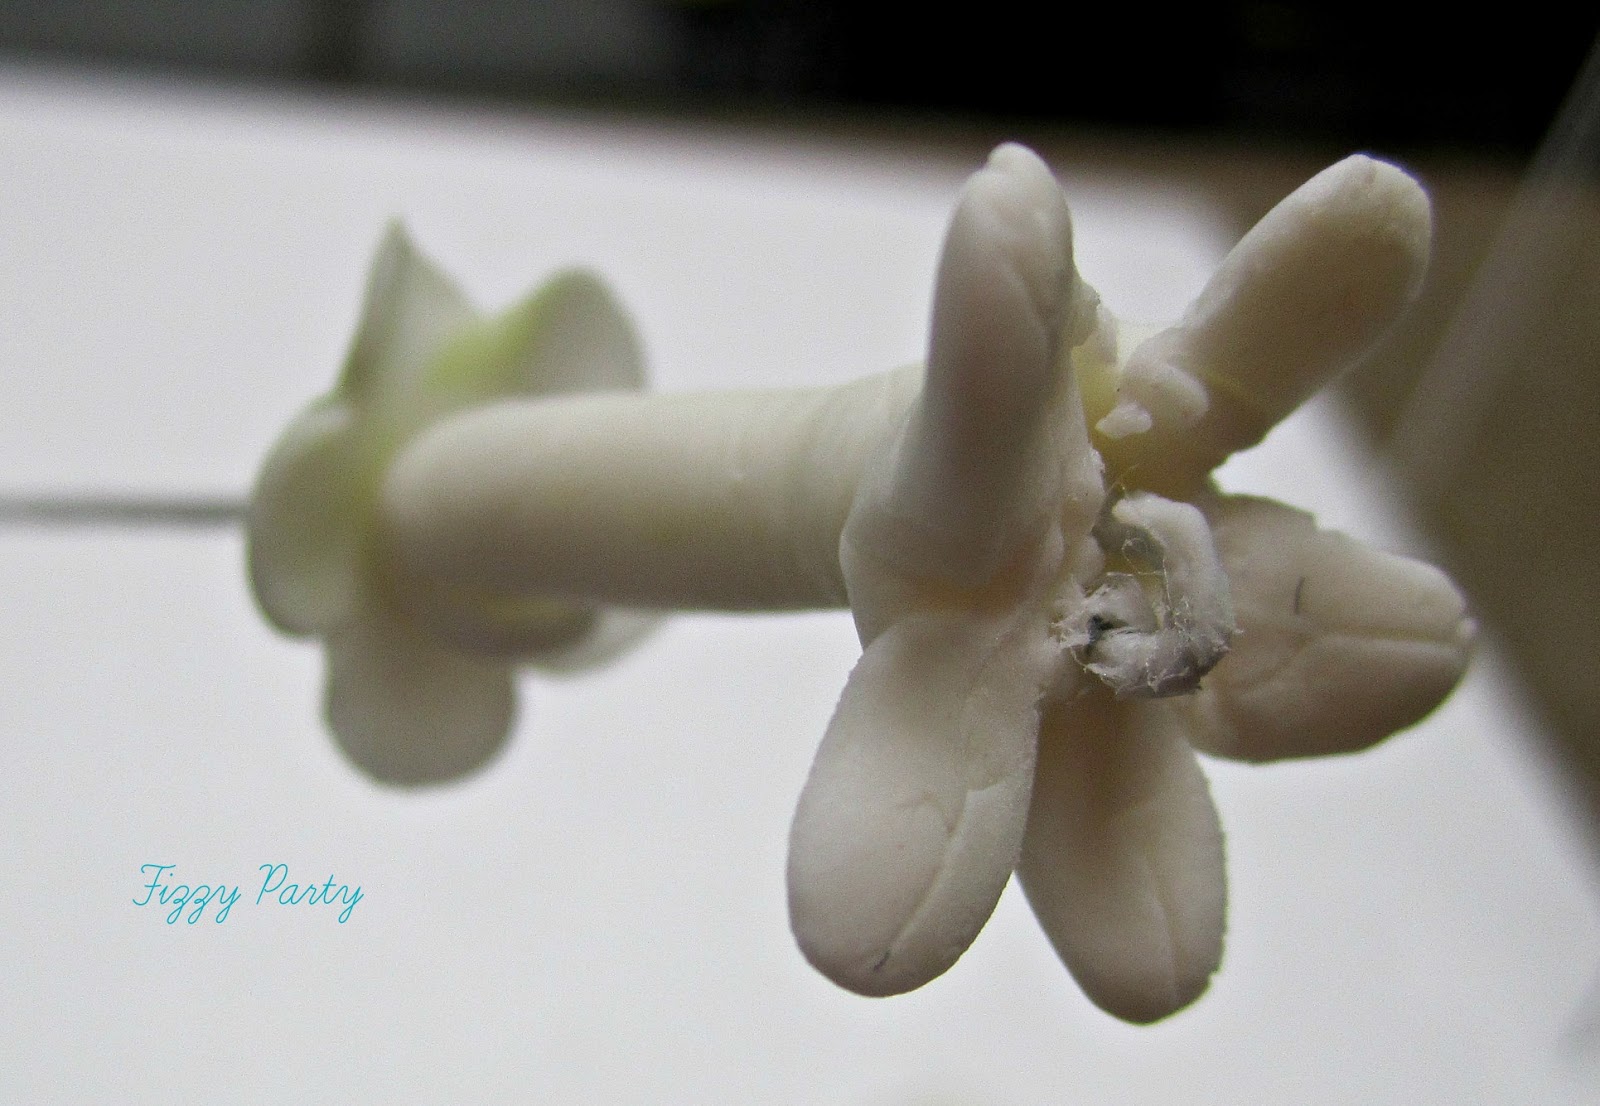
While we waited for the first layer of rose pedals to dry and adhere to the bud we made a Stephanotis.  I didn't have time to take pictures of the steps.
Gum Paste Class, Fizzy Party
More rose petals added and I think it's looking like a real flower.
Gum Paste Class, Fizzy Party
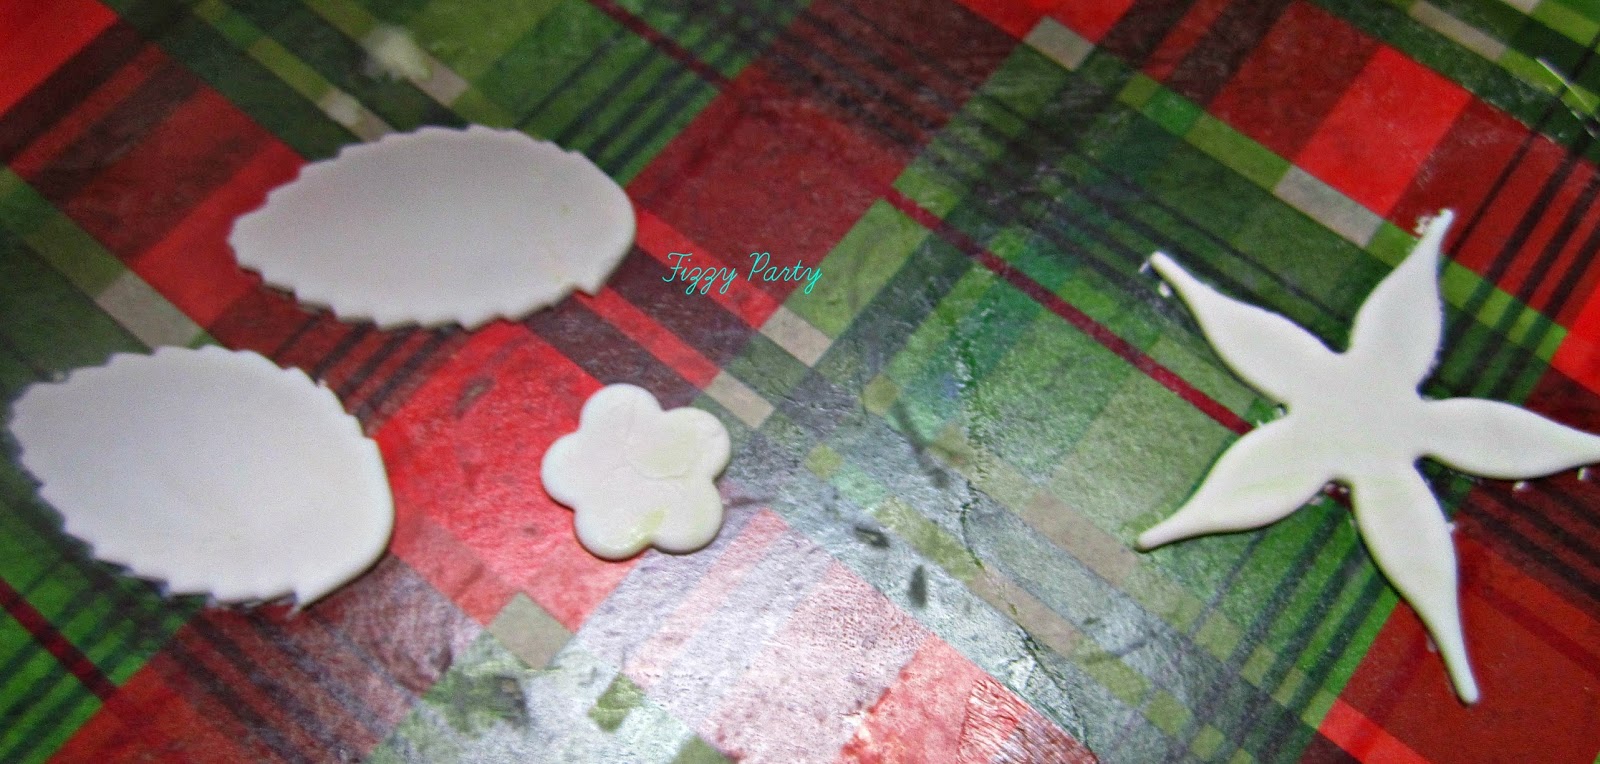
Time to make the leaves, the Calyx for the rose and the bottom of the Stephanotis flower.
Gum Paste Class, Fizzy Party
The leaf was easy.  Roll out gum paste, cut, place in a mold, squish and done.
Gum Paste Class, Fizzy Party
Finished Stephanotis. I need to practice on this flower.
Gum Paste Class, Fizzy Party
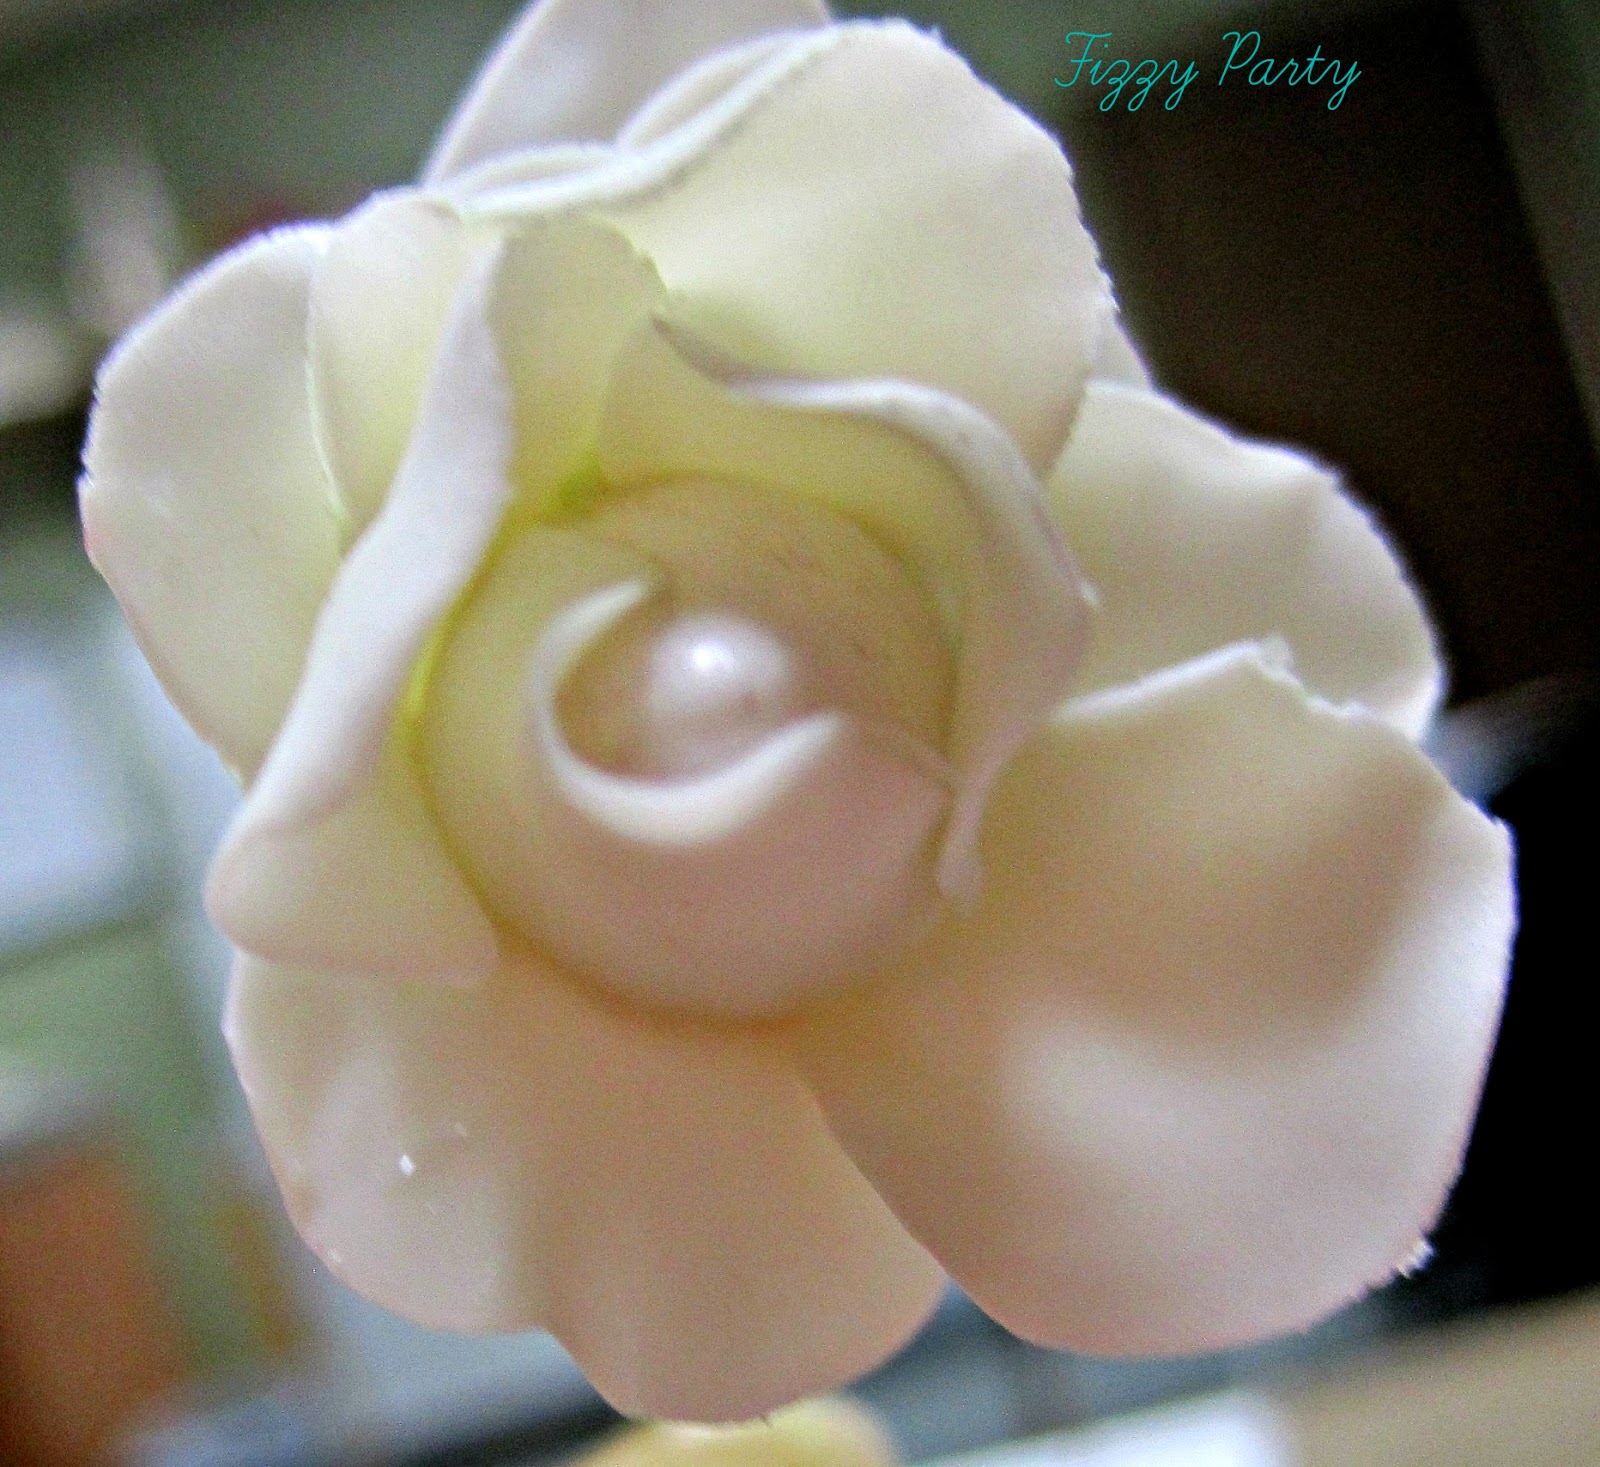
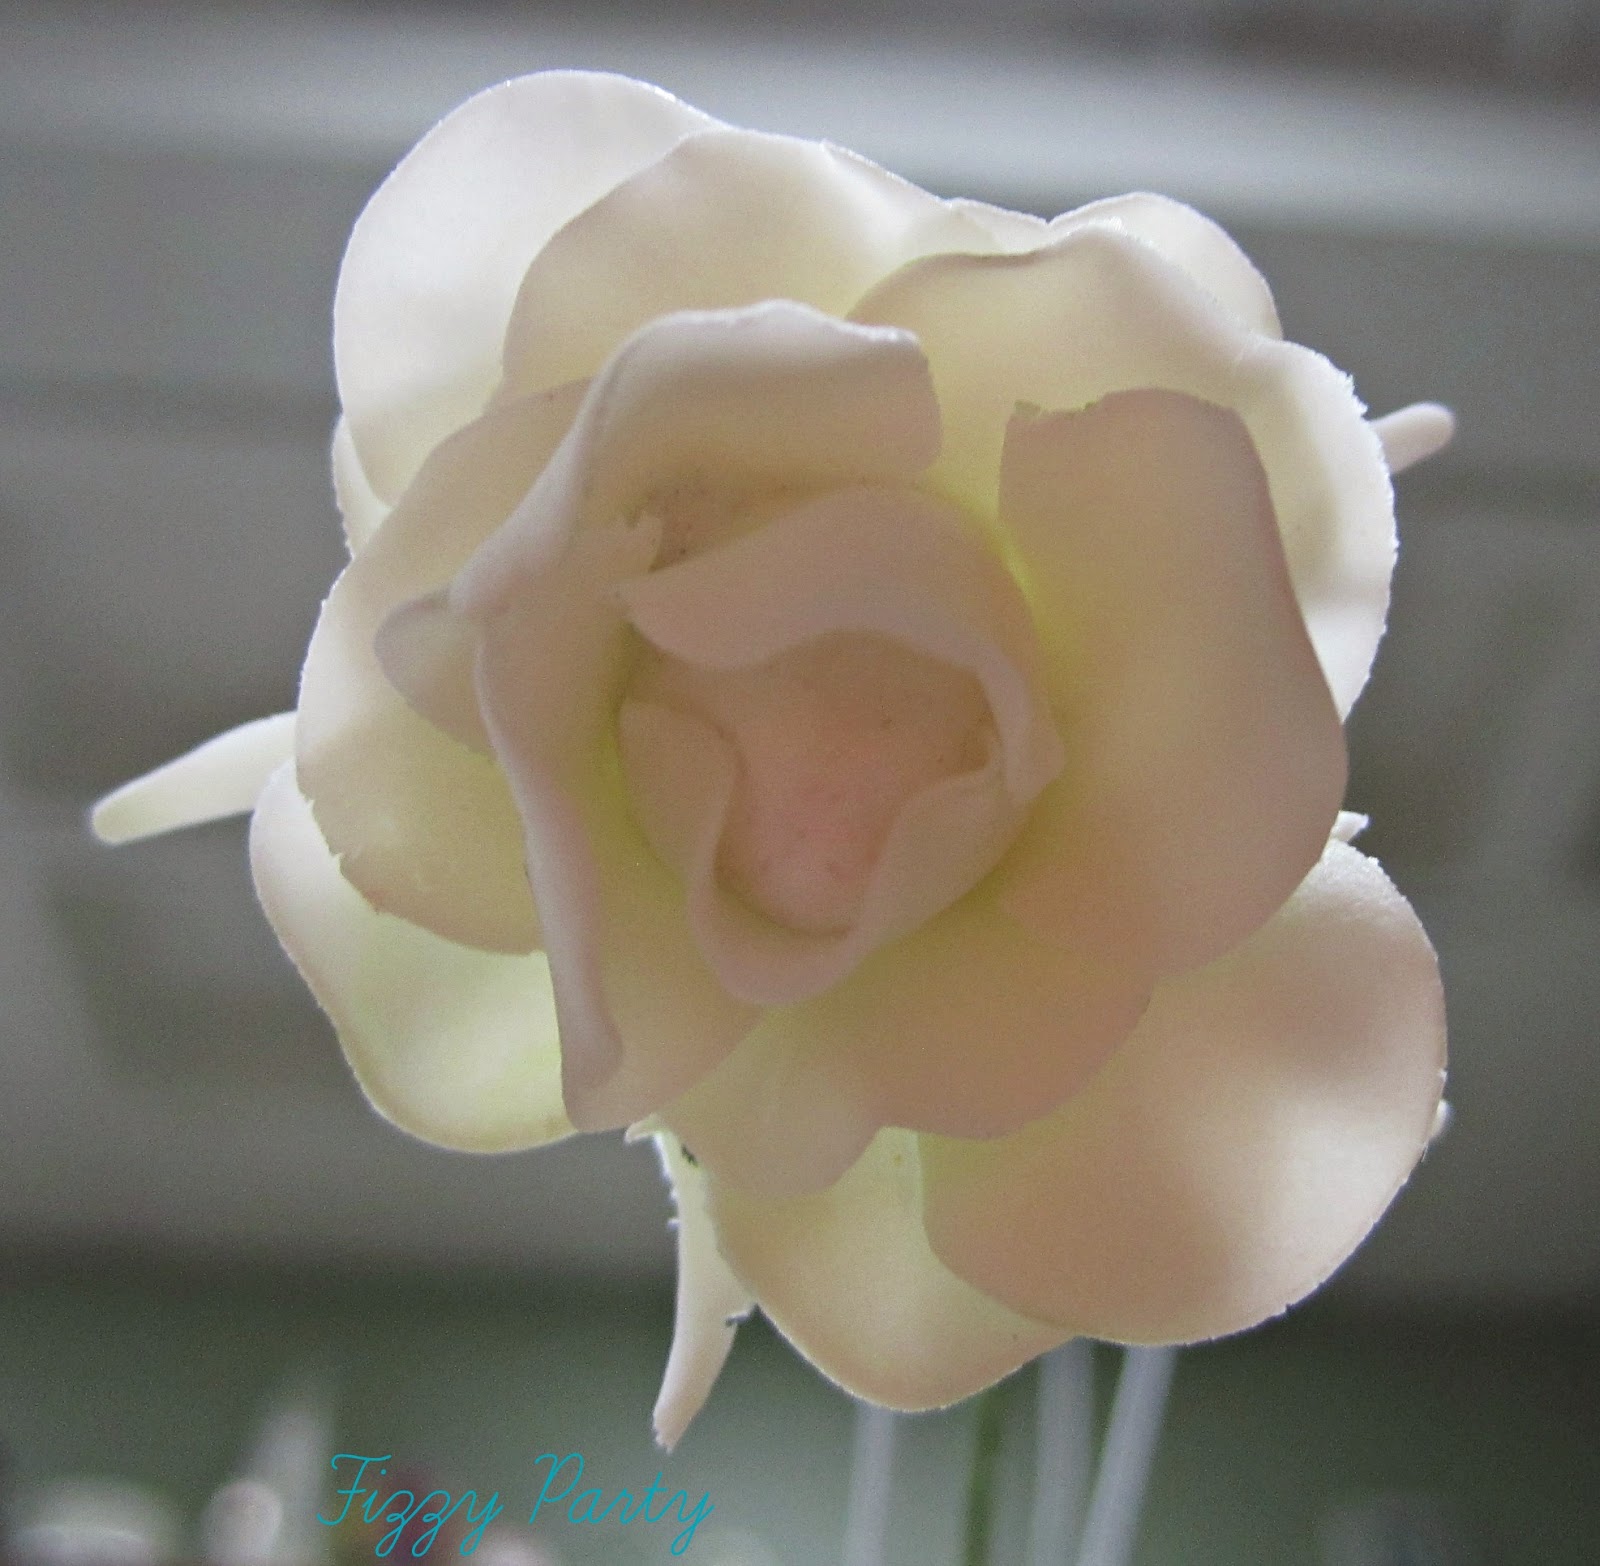
Finished rose with all the petals added.  I was surprised how well it turned out. With some practice and some color I could make a beautiful bouquet of flowers :) 
Gum Paste Class, Fizzy Party

At the beginning of the class I wasn't sure if I would like working with gum paste. I've never been a sculpture.  After class I changed my mind. Mary was a great instructor and working with gum paste is very forgiving.  I'm looking forward to taking the advanced class and learning how to colour the flowers.  Will I ever make figures out of gum paste? Probably not. I've never been good  at making faces in any medium.  I will however be making flowers and adding them to my cupcakes to give them the WOW factor. 

March 21, 2014


Easter's On It's Way

Happy Easter!

Easter is a big celebration for my family.  It's right up there with Thanksgiving and Christmas. The whole family gathers around the table for a big feast and hours of family time. 

Easter by Fizzy Party

Walking through Joann's one day this burlap Easter fabric caught my eye. I had to plan a little party table around it. I showed FMD Funkey Monkey the fabric I was using this Easter and she created the most amazing printables to match.  Don't you just love them!  

Easter by Fizzy Party
Giant flowers from Michael's were my other inspiration.  Fancy Cakes captured the flowers perfectly in the cupcake toppers. You can see these cupcakes in Carousel Magazines Spring issue.
Easter by Fizzy Party

Easter by Fizzy Party

Easter by Fizzy Party

Easter by Fizzy Party
Pastel colours, bunny cookies and bright flowers signal spring.
Easter by Fizzy Party
Would you believe I found this cute little bunny at the Goodwill! When looking for seasonal party décor I always check the Goodwill. You never know what treasures you'll find for a great deal. 
Easter by Fizzy Party
Jell-O cups are topped with grass frosting and a cotton candy bunny tail.
Easter by Fizzy Party

Easter by Fizzy Party

Easter by Fizzy Party
Macarons topped with fun Easter candy sprinkles.
Easter by Fizzy Party
Beautiful Easter cake created by Fancy Cakes.
Easter by Fizzy Party

Easter by Fizzy Party

Easter by Fizzy Party

Easter by Fizzy Party

Easter by Fizzy Party

Easter by Fizzy Party

Easter by Fizzy Party
Vendors:
Cake and Cupcake Toppers - Fancy Cake
Printables- FMDFunkymonkeydesigns
Straws and Favor Bags- Pretty My Party
Burlap Easter Fabric- Joanns
Cake Stand-Homegoods
Cupcakes and Cookies- Beaverton Bakery
Bunny- Goodwilll


March 17, 2014


King Cake

Happy Mardi Gras!

Mardi Gras kicked off on Fat Tuesday, March 4, 2014. I was too busy on the weekend before and after Mardi Gras to throw a party, so the weekend before St. Patrick's Day I threw a mini Mardi Gras party with friends.  To see the photo's from the party go to my Facebook page.


I've always wanted to make a King Cake but thought it would be way too much work. When I saw this box mix in Cost Plus World Market I decided to give it a try. 

Mam Papaul's King Cake, Mardi Gras
The box comes with all you need. Cake mix, Yeast, Praline filling, glaze, sprinkles and a baby!
The box suggested you turn on the oven for 2 minutes then turn it off and set the dough in a bowl on top of the oven.  This is to let it rise. However mine was not doubling in size like it should have. It rose but not double.
When I thought it had rose enough I rolled it out. The smell of yeasty bread filled my kitchen. I love the smell of yeasty bread. It takes me back to the days when my grandma would make bread.
After rolling out the dough, you slather on the praline filling, jelly roll it up and form a circle. Looks like one side is a little smaller then the other. Hope it cooks up ok.
I'd say it baked up pretty nice. Hope it tastes as good as it looks and smells.
All decorated and ready to eat.  It turned out really good. There was a small section that was a little doughy and didn't cook as well as it should have. I think it was because it didn't double in size. My friends didn't mind. We just cut that little section out and ate the rest.
King Cake, Mardi Gras
I was very pleased with how easy this box mix was to make. My friends and I enjoyed it and it made my house smell so good. I would buy this mix again.

March 10, 2014


Vendors Spotlight-Photographer

Many of you saw my Mardi Gras party featured in Carousel Magazine.  The beautiful shots of the party were captured by Snapshot in Time Photography.  Laura's professional eye made the party I styled sparkle and come to life.  She captured shots I never would have thought to get myself.  Without Snapshot in Time Photography's professional photographs, my party would never have been featured in Carousel Magazine. 

Laura specializes in wedding, senior and child portraits. She's looking to branch out into styled party shoots. I was her guinea pig and was happy to be. She did a gorgeous job. To see Laura's beautiful work check out her Facebook page.  Laura has a way of capturing children. So many adorable little smiling faces.  Looking through Laura's work will put a smile on your face.

Snapshot in Time Photography
The variety of natures fall colours
Snapshot in Time Photography
Ring shot with the gorgeous bridal bouquet
Snapshot in Time Photography
Getting married? Want to let everyone know to Save the Date? Snapshot in Time Photography can capture the moment for you.
This pregnancy photograph is so precious.
Snapshot in time Photography
Senior portrait photographs

Snapshot in Time Photography is located in Burlington, Washington.